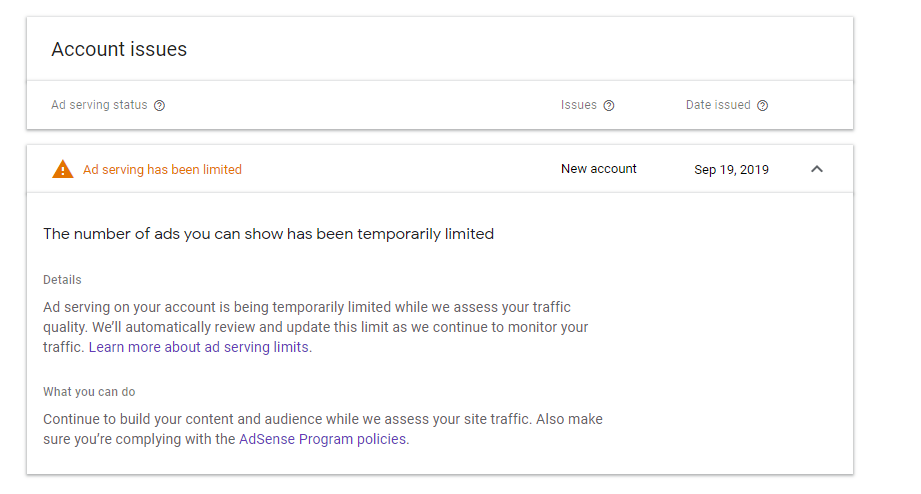
There are 3 Steps to fix the error message “Number of ads you can show has been limited”
- Remove ads.txt file from your website dashboard.
- Remove ad unit ad codes from all of your website, widget, or on any other page/posts of your blog/website
- Turn off auto ads and archive ads unit from Google AdSense account if you are using WordPress Disable ads inserter plugin if you are using it on your blog/website.
Remove ads.txt file from your website dashboard/root folder of the hosting server.
While setting AdSense on your blog, Google AdSense recommends adding ads.txt(downloaded from Google AdSense) in your website dashboard/host server’s root folder. This text file helps AdSense to track your traffic source and activity on your blog. When you will remove this ads.txt file from the website dashboard/root folder, you will receive one more error message as “Earnings at risk – You need to fix some ads.txt file issues to avoid severe impact to your revenue.” You don’t need to worry about this message as this can be fixed later by just adding ads.txt file in your website dashboard or root folder of the hosting server.
Remove ads code from the Website header, widget, or on any other page of your blog.
A place to show ads on the blog is a header, footer, side widget, or blog post. To show these ads you have to put AdSense code in respective file or location. You should be able to identify those places and remove the all codes from those sections that you find. If you are using WordPress then please disable ad inserter plugin
Turn off auto ads and archive ad units from your Google AdSense account.
Now the last step is to turn off auto ads from the AdSense dashboard and archive ad units which you would have created manually to get AdSense code for the different sections of your blog/website.
At the end:
- Add ads.txt file in your blog/website Dashboard
- Activate the auto ads option in the Adsense ads dashboard

